Learning to Cook in Thailand & Cashew Chicken Recipe!

27 May 2014

I've been in love with the flavors of Thai food from the moment I tasted it. There's so much complexity, but yet it's simple, good food. It's affordable recipes made for working people. Large part of my travel to Thailand would of course be the food. I wanted to stop at every single street vendor and everything I saw. I was so excited to be able to take a cooking class and learn more about what goes into my favorite exotic flavored dishes.


I choose Thai Farm Cooking school in part from Melyssa's recommendation and also because I loved the idea of not only learning the act of cooking, but getting a better understanding of the ingredients by visiting a local market and a small family farm. At the market, we learned to identify different types of rice and how to find the essentials of Thai cooking - sweet, sour, spicy, and salty.


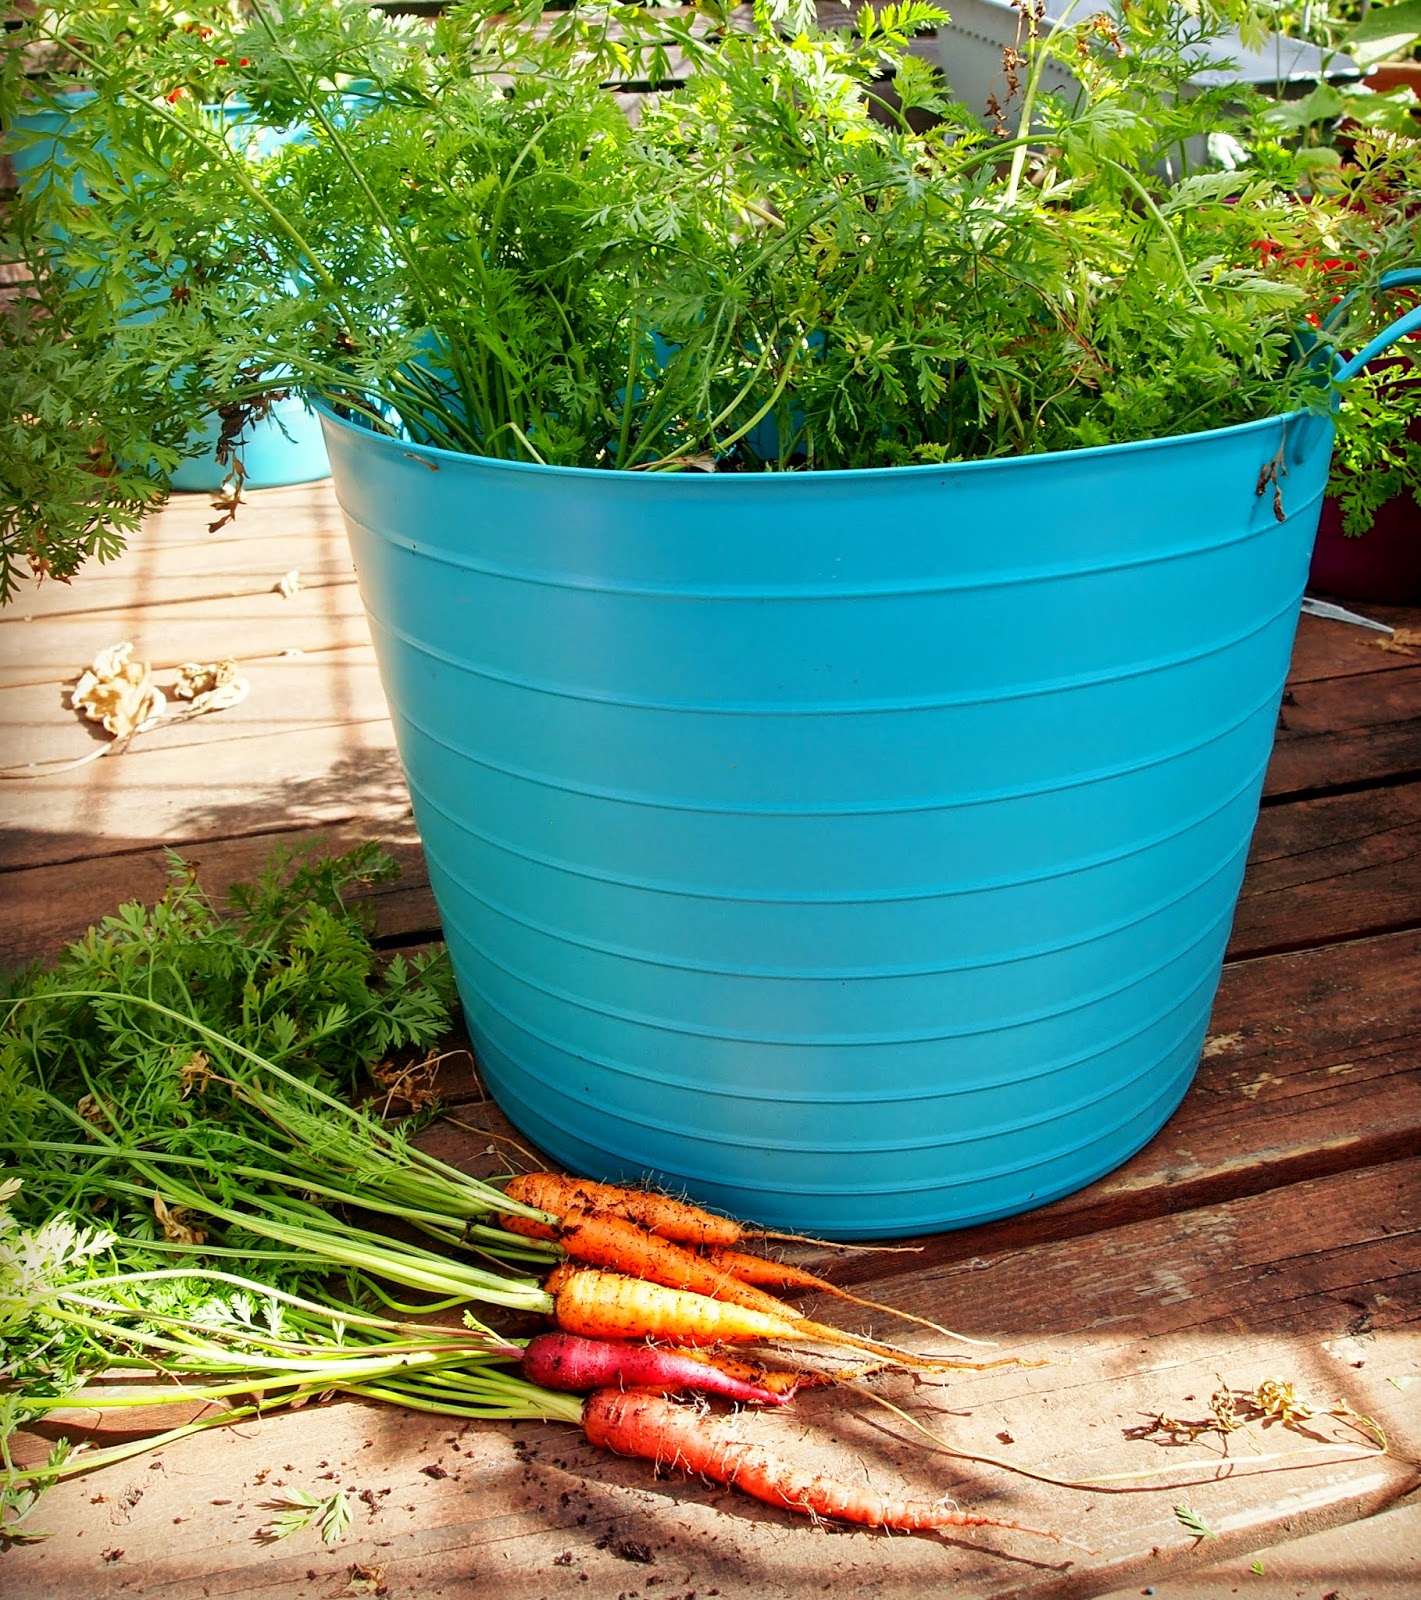
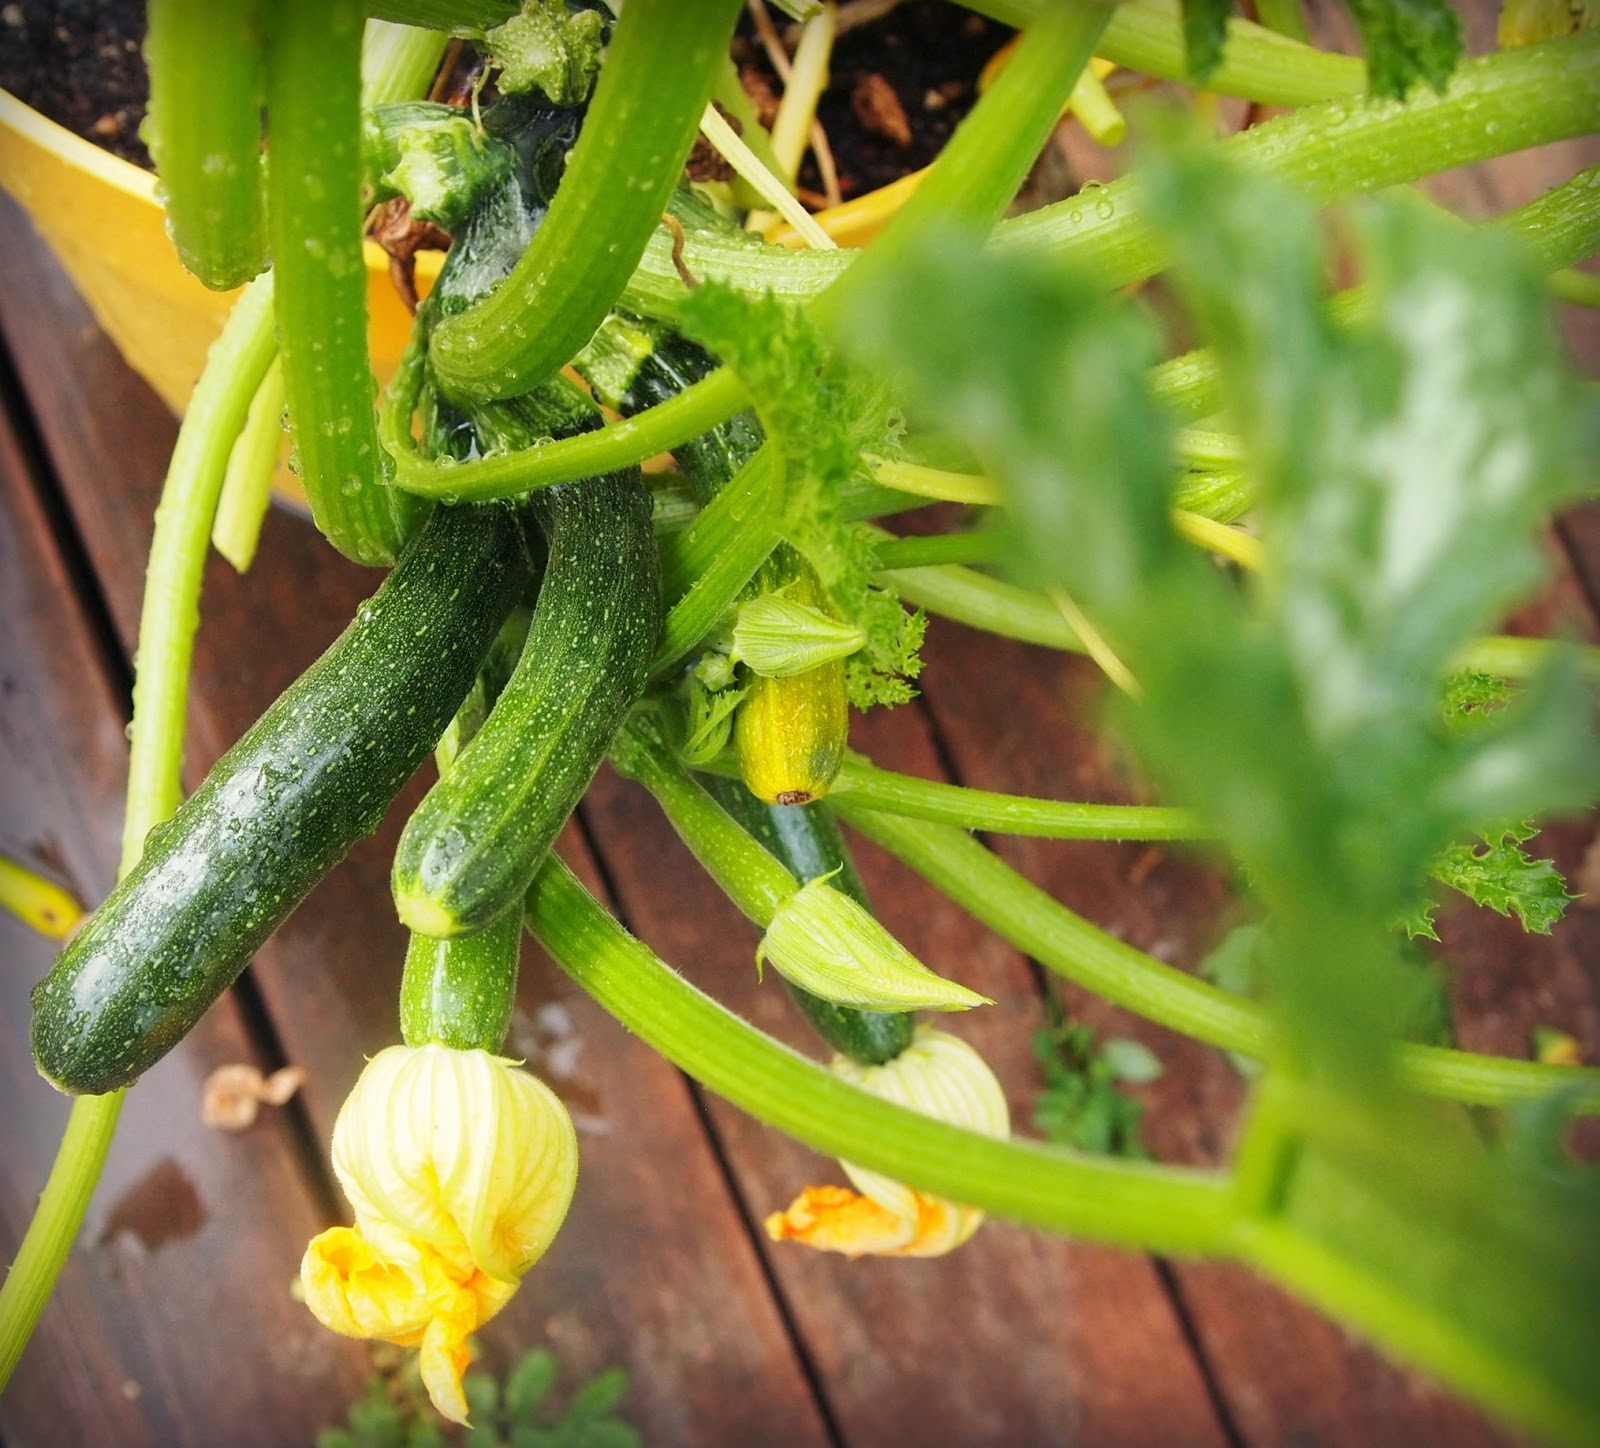
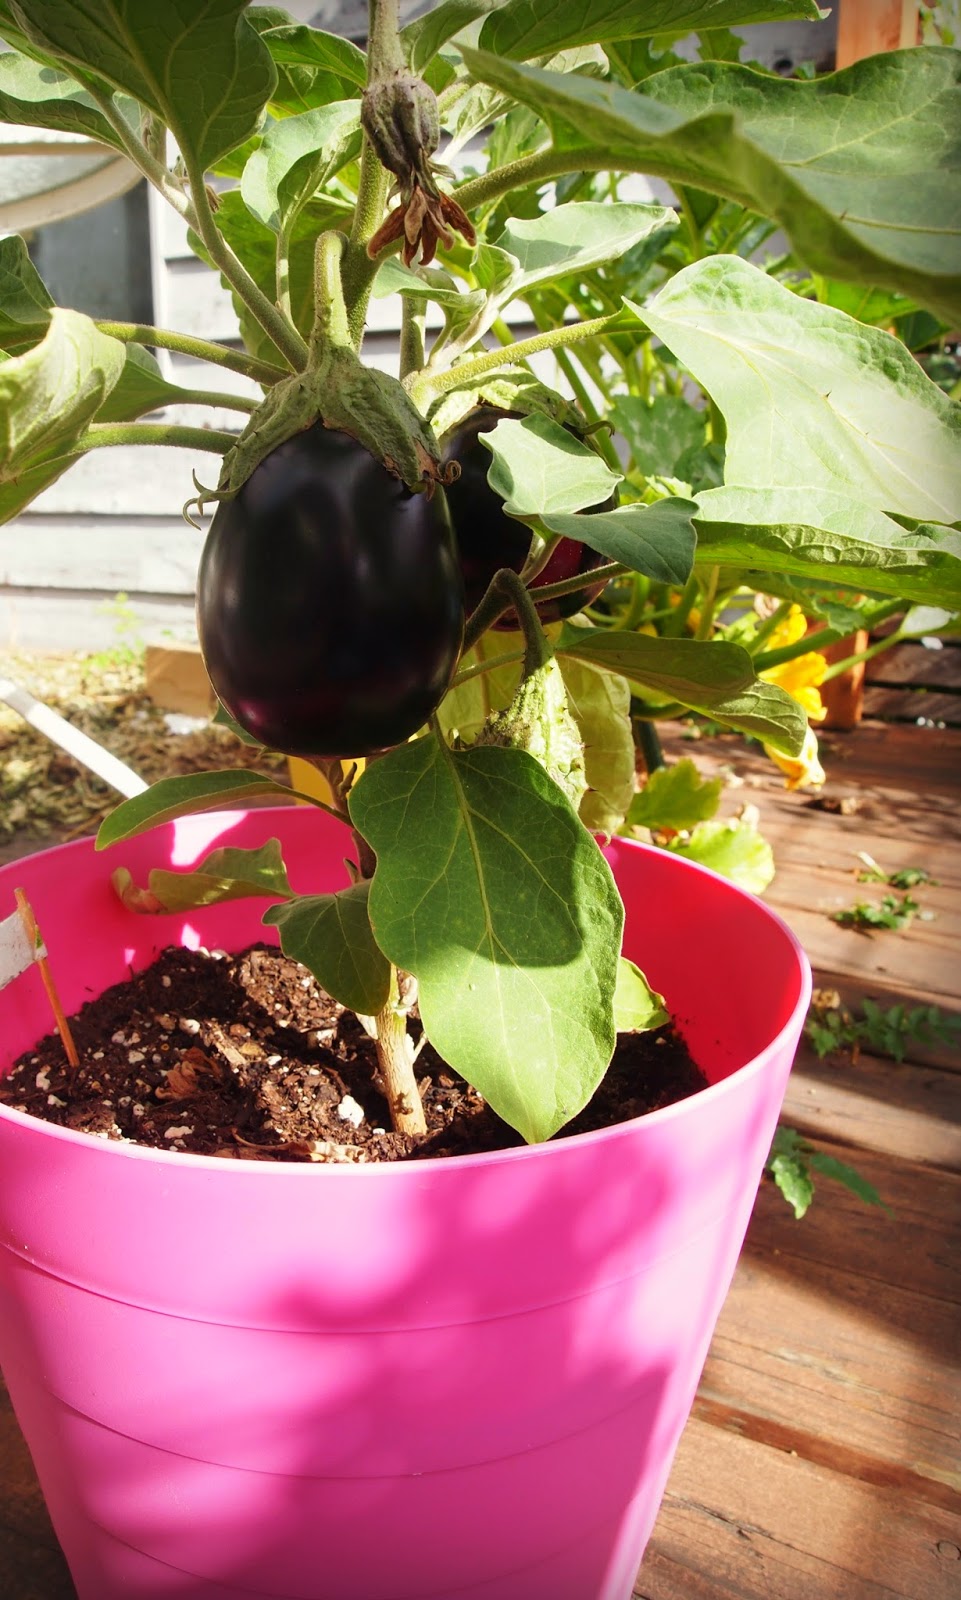
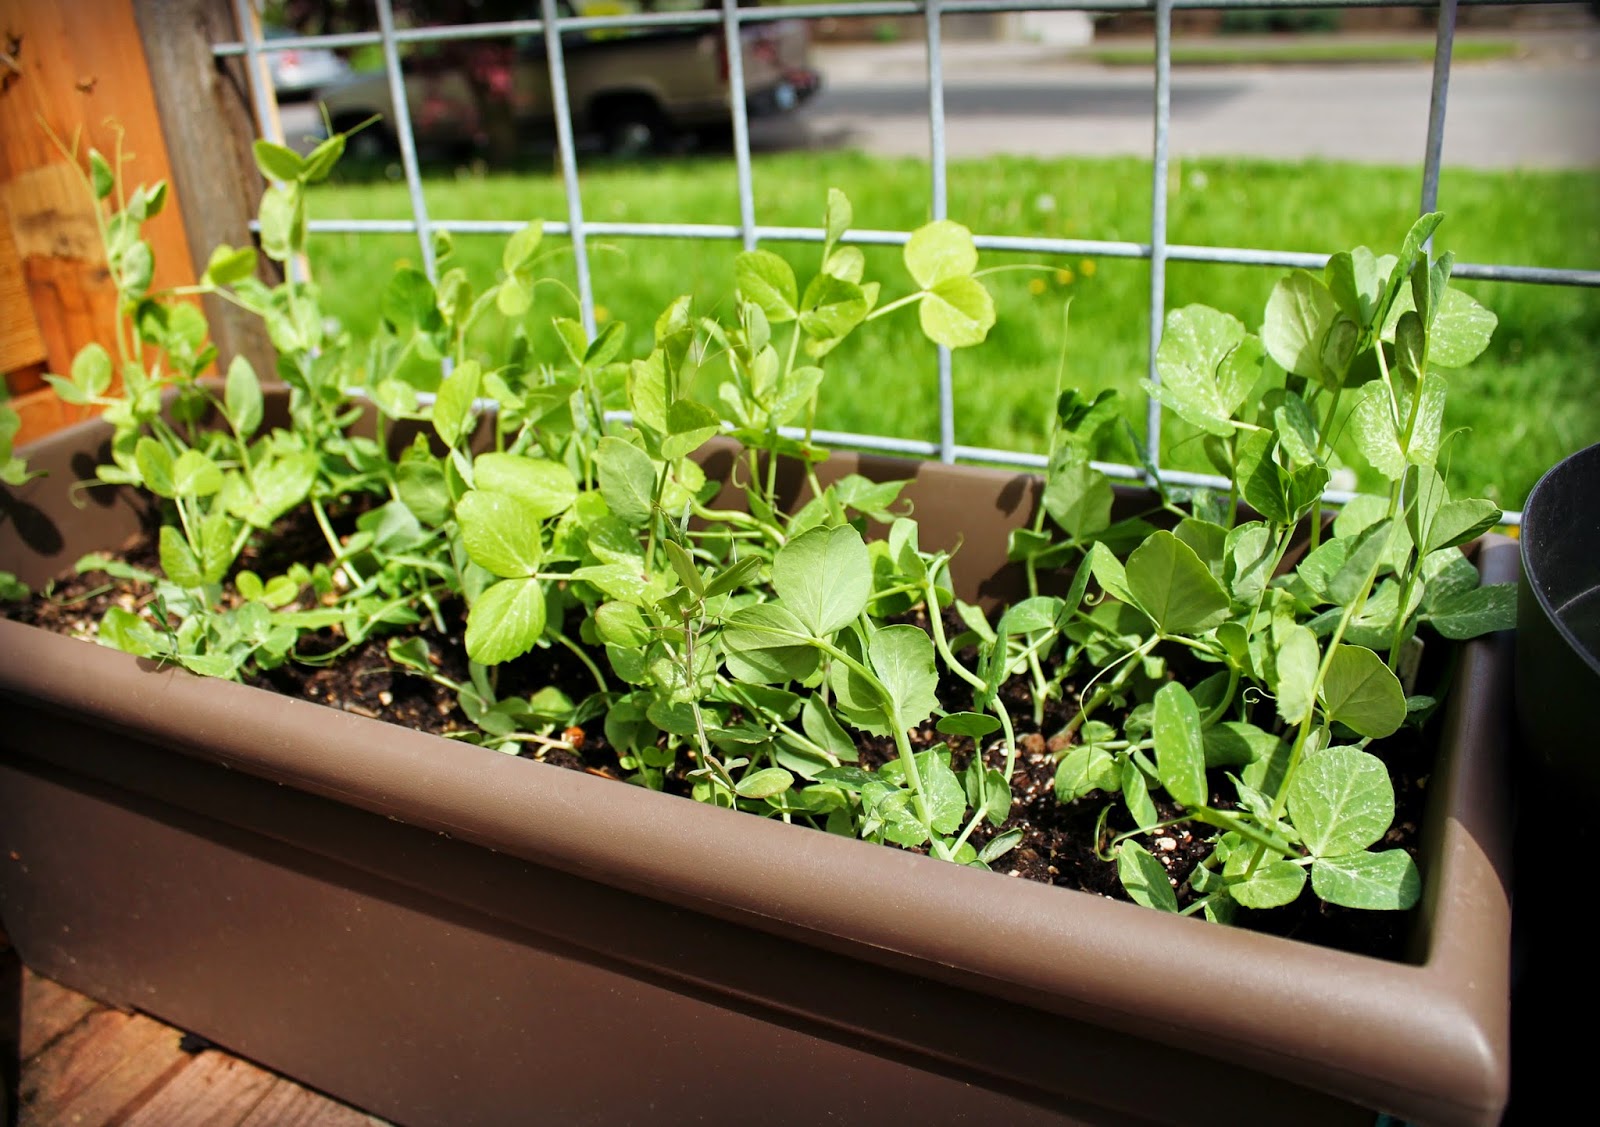
After the market, we piled into the truck with our ingredients and drove out to a beautiful rural farm outside of Chiang Mai. Our instructor, Liam, was amazingly knowledgeable and so full of energy that she made the day so incredibly fun. She took us through the farm and showed us all the different plants and let us smell and taste the freshest ingredients. It got me really inspired and excited for my garden this year! She talked about age old companion planting to keep bugs at bay and make the flavors better and it was really inspirational for my own little garden at home!

Learning the difference between different types of basil
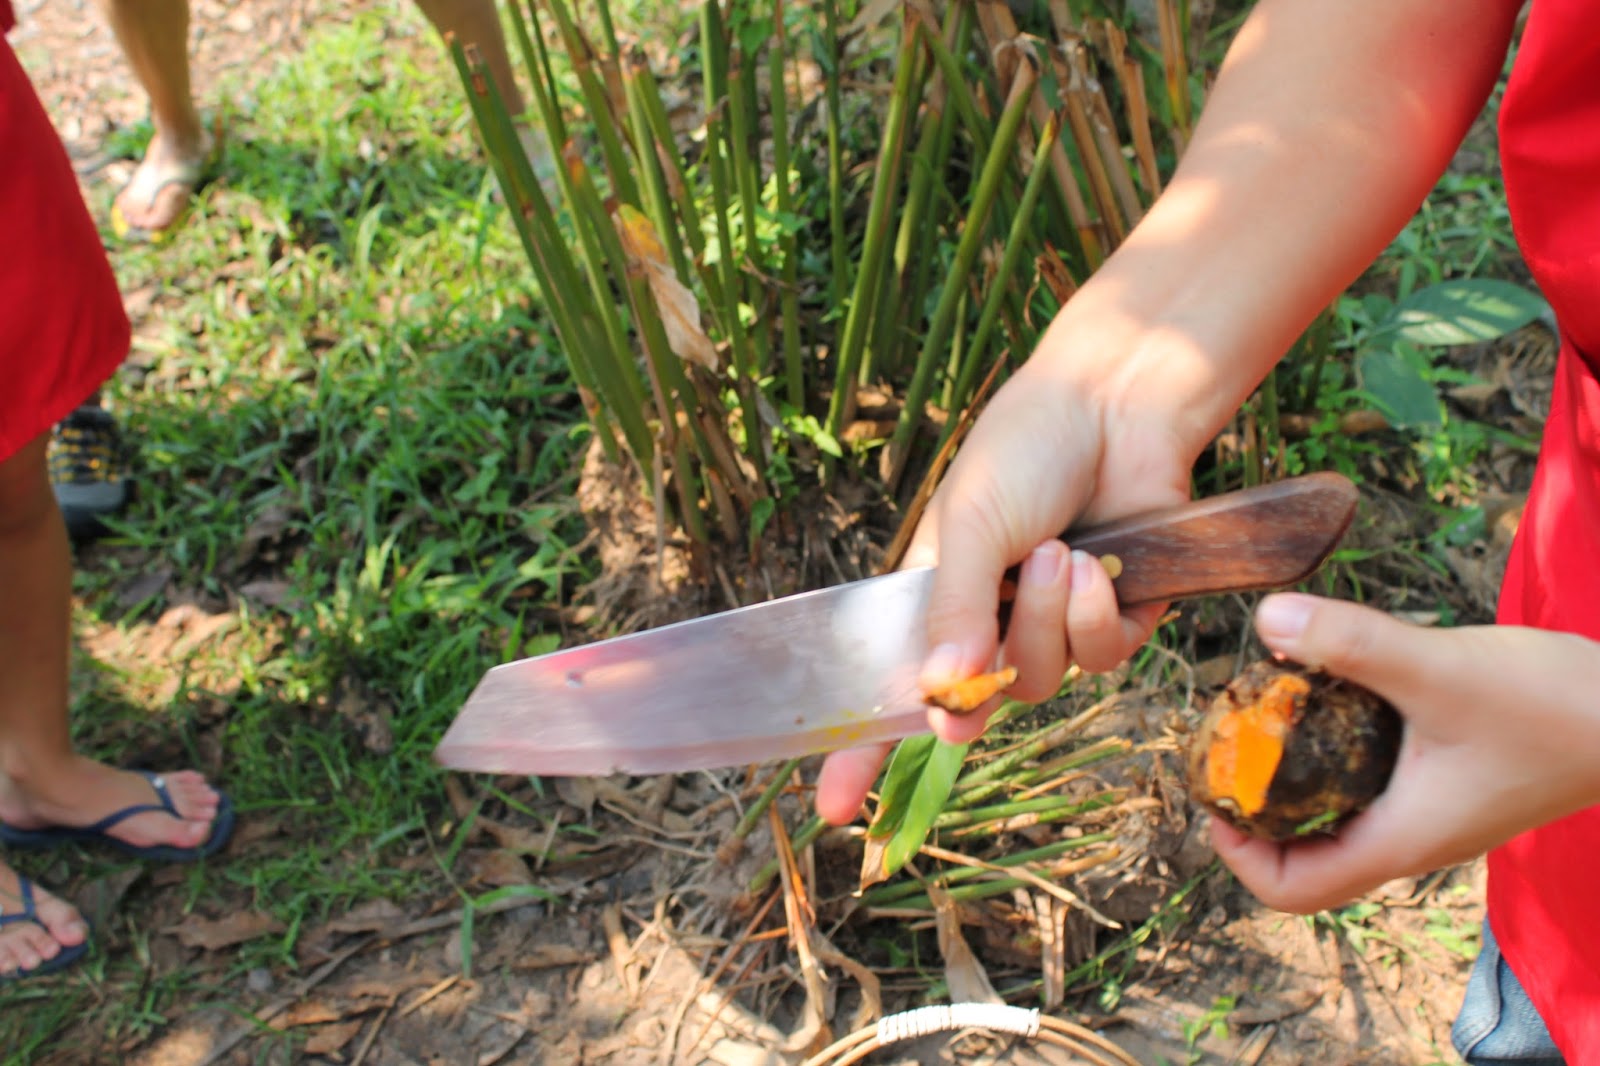
Sampling fresh tumeric from the garden


I was lucky to have an amazing class full of people that were just so sweet and so fun. We bonded at the market by eating bugs together, shared our food and travel stories, and it was like a wonderful little family with these 8 other strangers I had just met! That is one of the great, unexpected things about travel.


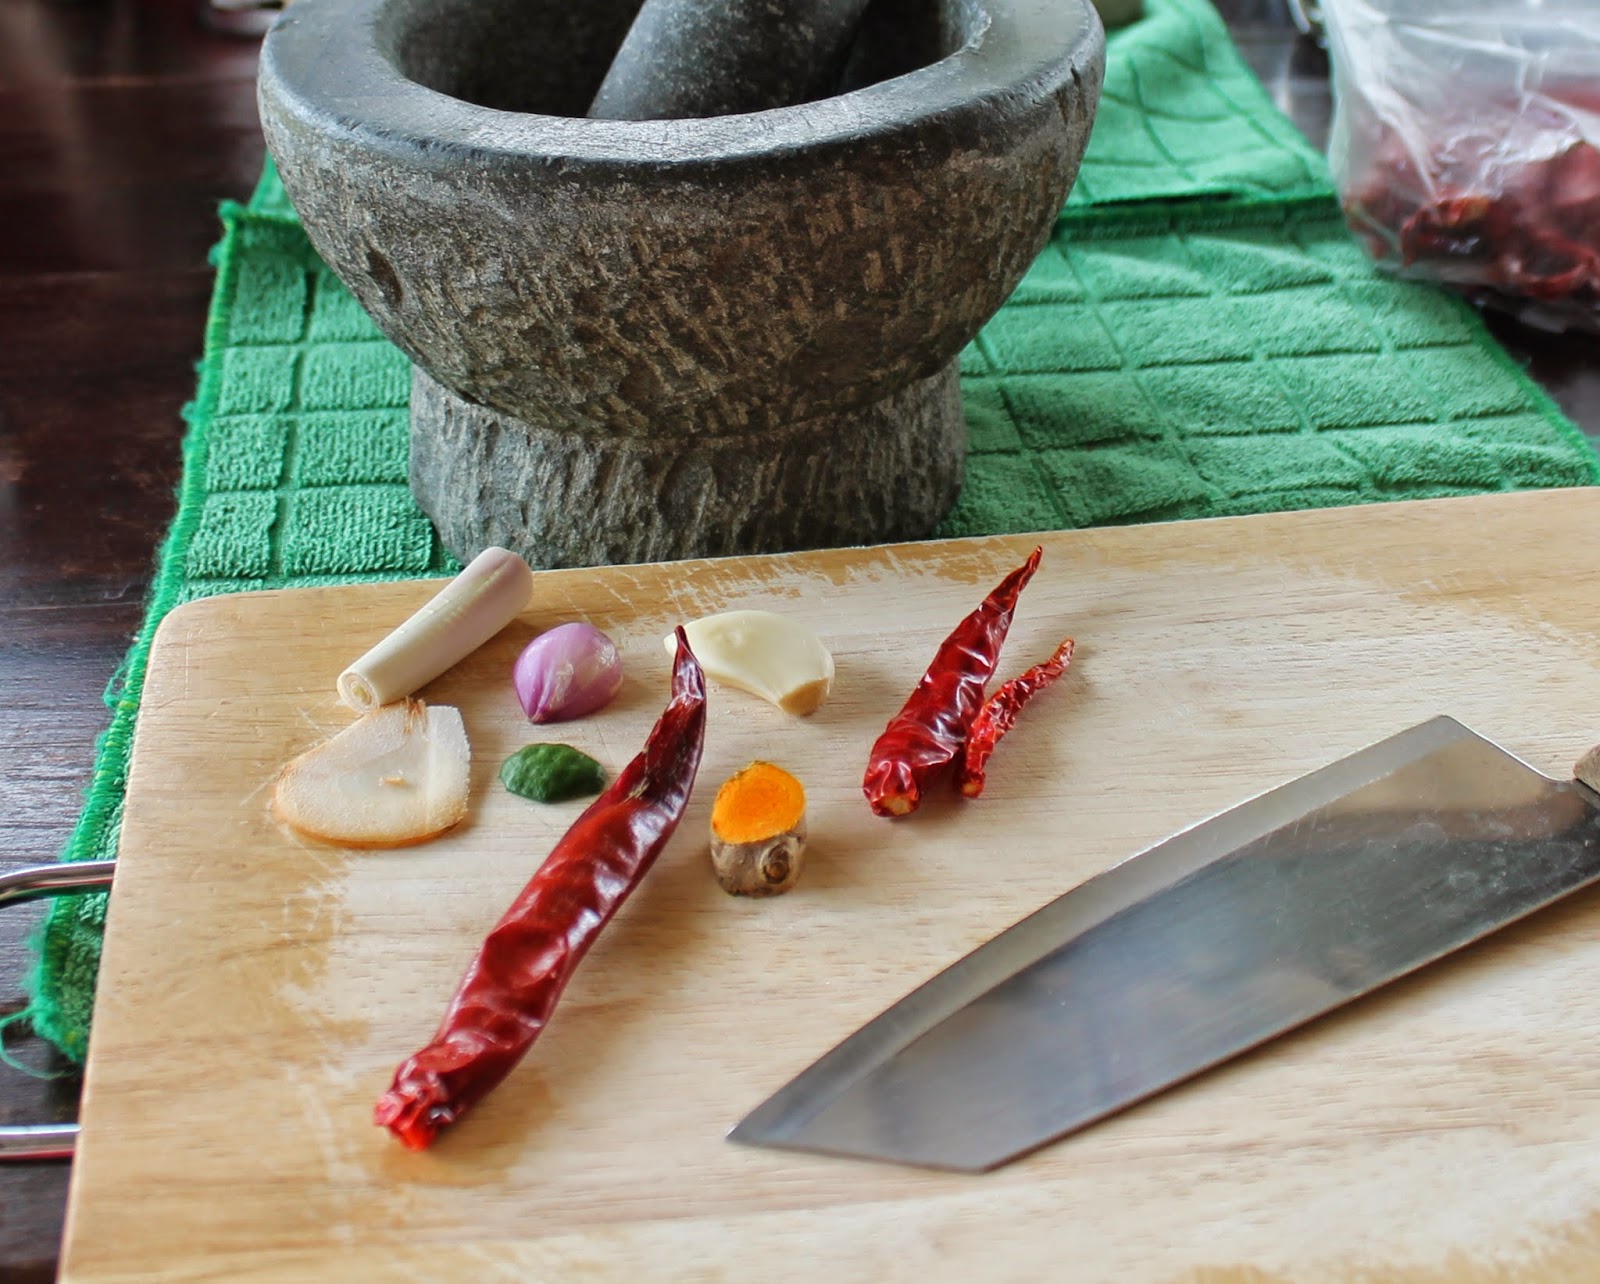
Ingredients for yellow curry ready to be diced and crushed to a paste

Just hanging out in my farm attire and making some curry paste!
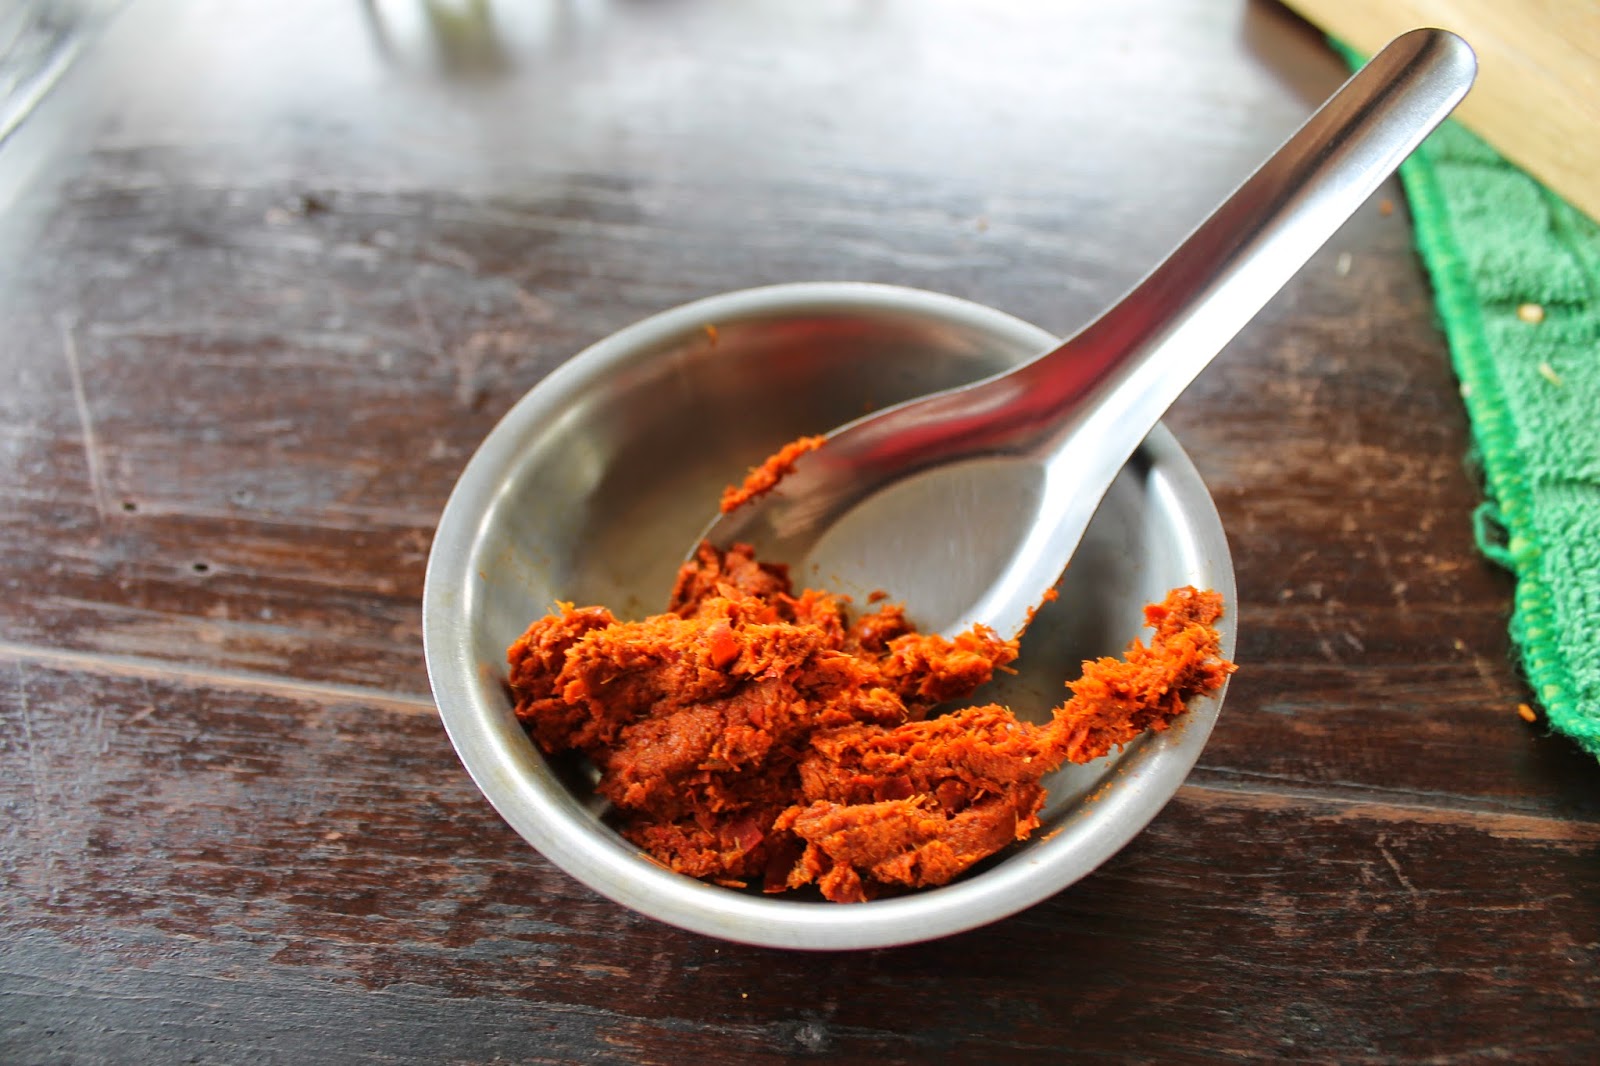
The final result of my hammering away with the mortar and pedstal!


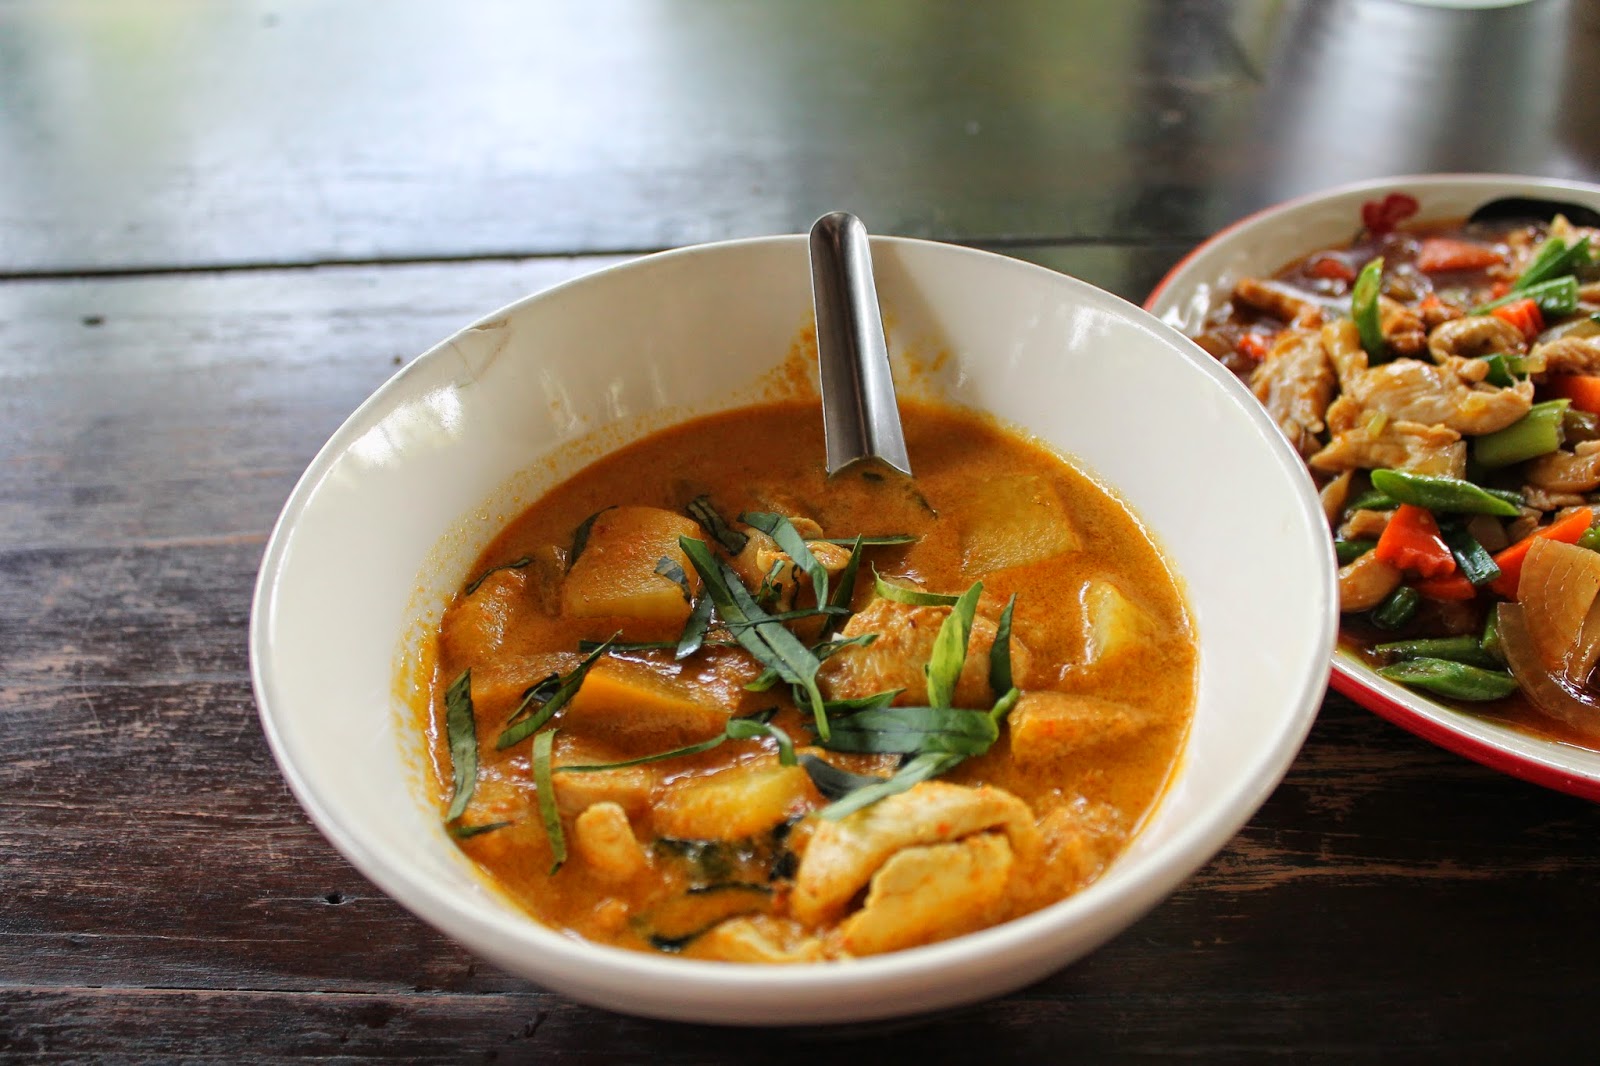
And the yummy finished product of yellow coconut curry!
The farm was a gorgeous place to explore and relax during our breaks.  There was lots of eating during the class and we were all super full at the end of the day!


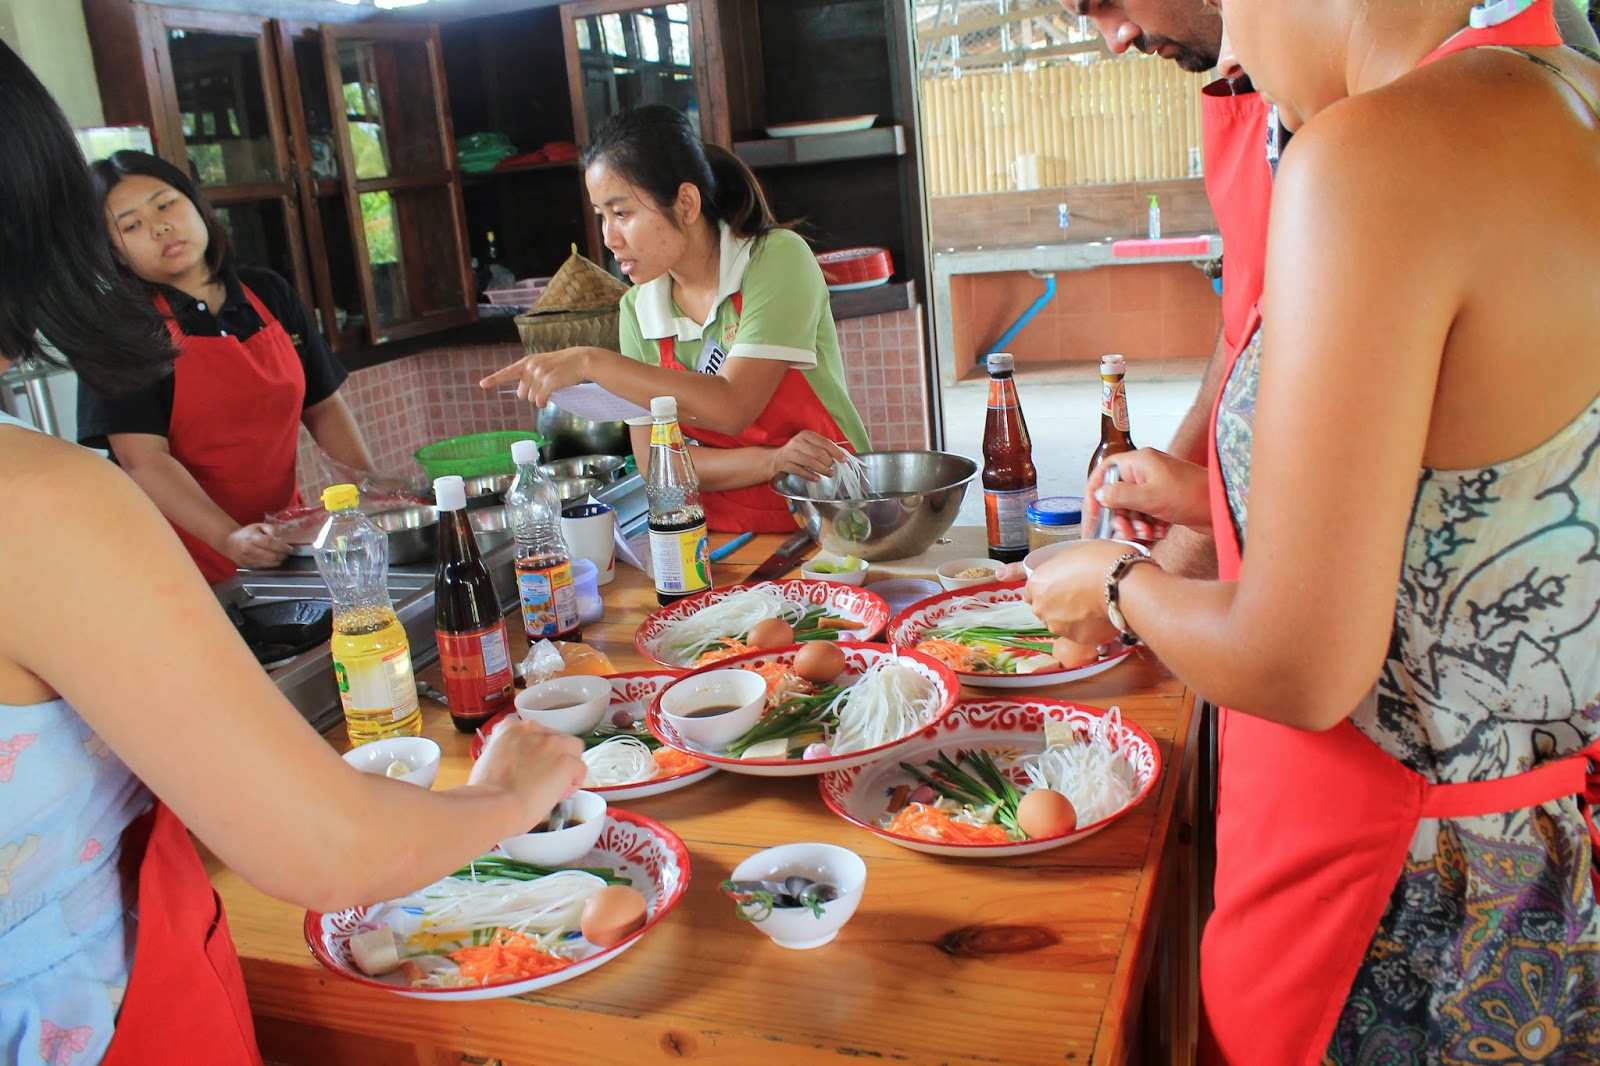
During the class, we each choose 5 dishes to make. I made a yellow curry, Tom yum soup, pad thai, cashew chicken, and mango sticky rice. the curry was ground the old fashioned way with fresh ingredients and a mortar and pedestal.  I loved that we were given options and even through I didn't make the other dishes that were an option, I got to learn a little about them by watching by classmates and we all shared our creations, so it was a pretty fantastic Thai feast!

At the end of class, we got a cookbook with all the recipes. I'm so excited to try these things out at home!


And in case you are interested in giving it a try, here's an amazing and simple cashew chicken recipe from the Thai Farm Cooking School website!  It's super fun to make and comes together in a jiffy!


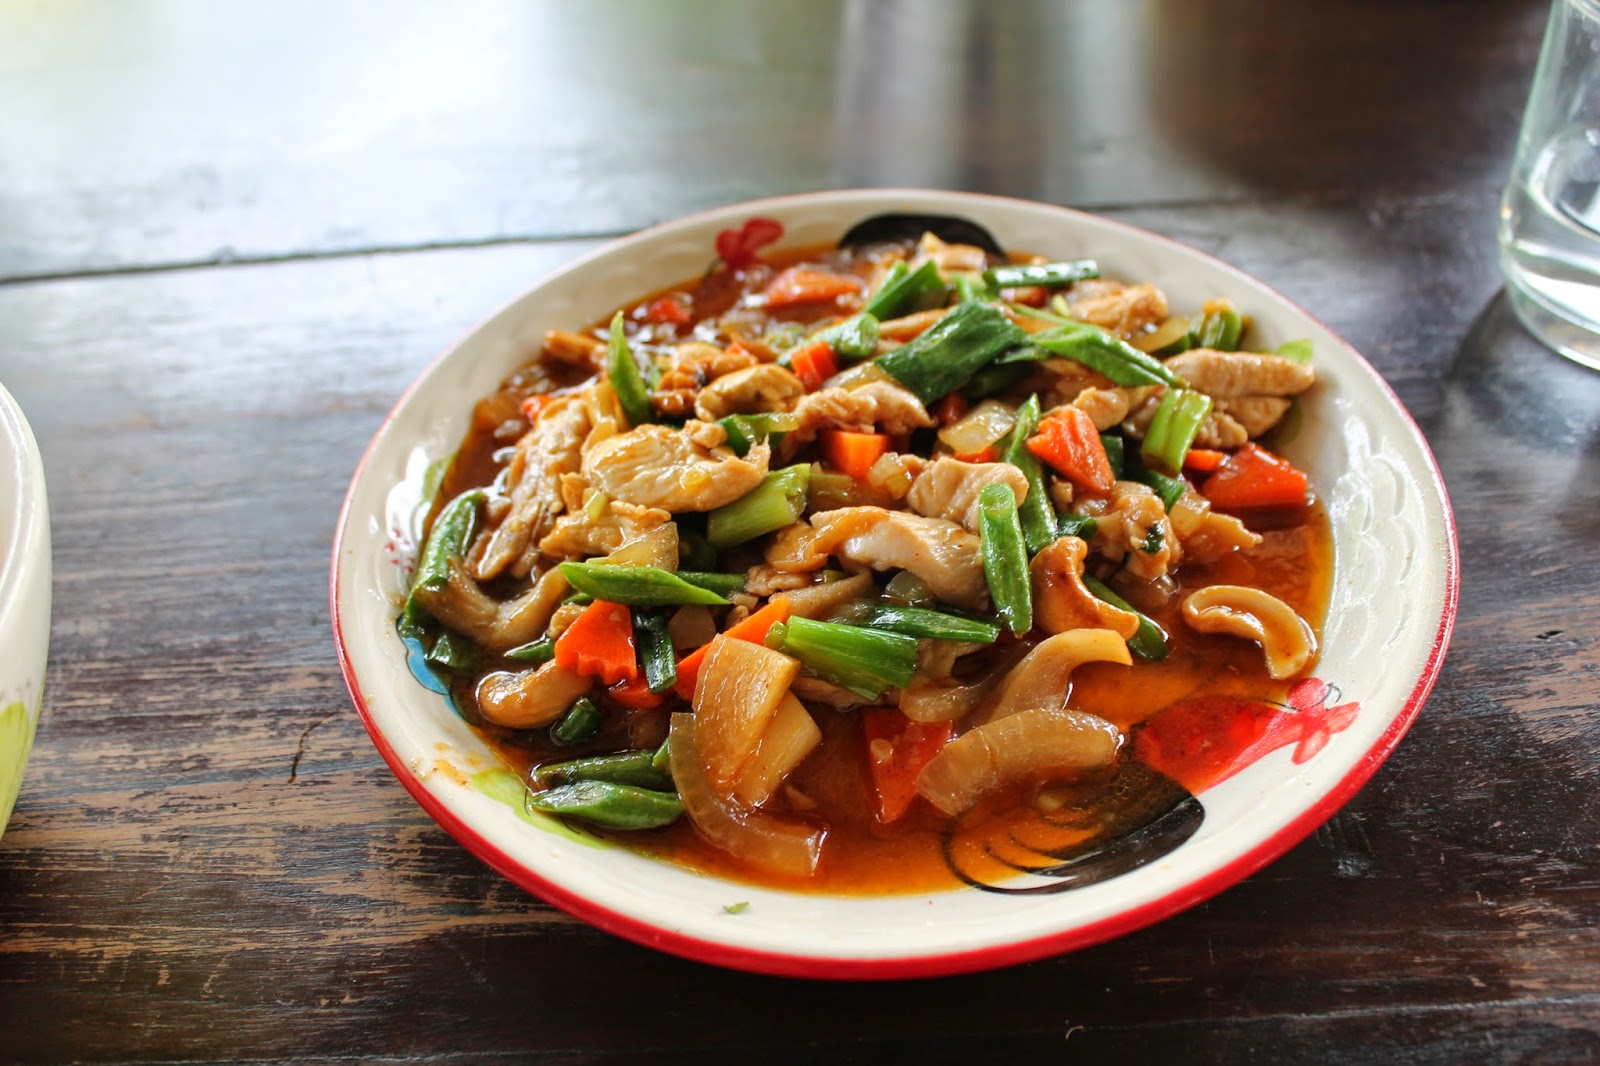
Chicken with Cashew Nuts (Gai Phad Met Mamuang Him Mapaan)
Makes about 1-2 servings

1/4 pound of sliced chicken or tofu
1/4 cup of roasted cashew nuts
1/4 cup of sliced carrots
1/4 cup of sliced onions
2 sliced roasted and dried chillis, without seeds
1/4 cup of chopped spring onions
1/4 cup of mushrooms
2 tbsp. of soybean oil
a pinch of salt
1 tsp. of fish sauce
1/2 tsp. of sugar
1 tbsp. of oyster sauce
2 tbsp. of water

Heat the oil in the wok. Fry the chicken until golden brown. Add carrots, onions, mushrooms and water. Stir fry until almost cooked. Add oyster sauce, fish sauce, sugar, salt and spring onions. Stir fry again until mixed well. When done, turn off the heat and add cashew nuts and roasted chilli. Serve with rice.


What is your favorite Thai dish? Have you even taken a cooking class in a foreign country?  I definitely hope I can make cooking classes part of my travel experiences as much as I can!

10 Plants Perfect for Containers!

13 May 2014


Spring is in the air and that means it is time for planting and planning gardens!  Spreadsheets are being made and seeds are being sown as I plan out this year's garden.  I'm lucky to have a garden plot in my yard, but I also really love doing container gardening on my deck.  I've actually found that I sometimes prefer container gardening because I love that it allows me to have a little more control of the plants I'm growing.  Also, since I live in a rental and live on a budget, I feel a little happier to make investments in things that I could bring with me if I move rather than working hard to make soil improvements on a plot I may not own in a few years.  Whatever the reason, container gardens are really fantastic because they are fun, productive, and great for any budget or space!

Today I'm sharing 10 of my favorite plants to grow in containers.  I think a lot of them might surprise you!  The possibilities with container gardens are huge!

Carrots
Pots are great for root vegetables like carrots because you have complete control of the soil, so you can be sure to keep the growing area soft with rock-free for perfectly straight carrots.  You can also keep the soil warmer by allowing more surface area to be warmed by the sun which will help your growth get a jump start. You need a deep pot, ideally with straight sides instead of tapered, at least 8" tall.  Varieties like Denver Half Long & Nantes are best with pots because they are a bit shorter.
Zucchini
Zucchinis are well known as the gardener's friend because they are prolific producers, but what if you don't have the space or a yard to grow one?  Never fear, zucchini can actually be very happy in pots!  I was able to get an amazing harvest out of a potted zucchini last year and it outdid the one I had in the ground.  Use a 10+ gallon pot and remember that zucchini is prone to leaf mold, so whenever possible try to water them at the base and keep their leaves dry!

Melon
Although full-sized watermelons might not be the best choice for a container garden on your terrace, there are more compact varieties that thrive in containers. Small melons like sugar baby, golden midget, emerald gem, or moon and stars are ideal.  Plant them in a 5+ gallon container in full sun.

Peppers
I have had no luck getting peppers to grow in the mild Pacific NW summers because peppers love heat.  The pot helps the temperature of the roots stay a bit warmer with the extra sun exposure on the outside surface area.  Just about any variety will grown in containers 5+ gallons with full sun.

Eggplant
Eggplants are another heat loving plant that I've had better success with in pots than in beds.  I perfer the smaller, long chinese style - ichiban for high yields, but I've also had great success with the more traditional larger black beauty and white eggplant.  5+ gallon pot with full sun will do the trick and they may also require a support cage or pole as they start producing!
Radish
The great thing about radish are that they are both early planters and quickly ready to harvest, so you can plant a crop and harvest and then be ready to use your pot for another plant that gets sown later in the season.  This year, I am using my large tomato and zucchini 10 gallon pots for radish in the spring and I will be able to harvest them by May and plant my summer crops in the same soil after I give it a little nutrition boost.  You can use just about any smaller variety or radish like cherry belle or french breakfast . Larger varieties like diakon or watermelon radish can work in pots, but they require more spacing per plant and take longer to harvest.

Cucumbers
Cucumbers are probably my favorite thing to grow, they are perfect for pickles or summer salads - just the perfect summer flavor to me.  Cucumber will happily grow in 2.5+ gallon pots in full sun, but they do require a trellis to vine upwards.  You can also use longer rectangle containers and grown multiple plants up the same trellis.

Tomato
Tomatoes are happy to have the extra heat that comes with pot. Plant in 10+ gallon pots. Compact varieties like patio, stupice, or supersweet 100 are perfect for pots as they don't get quite as tall. You still will need a small cage or pole to help support the plant.  Happy tomatoes need full sun, lots of water, and regular feedings.

Potatoes
It might surprise you, but you can grow pounds upon pounds of potatoes without an ground garden plot!  Potatoes do best in at least a 10"+ deep container as they are root veggies and need all the space they can get.  The more space you give them, the more they will produce.  There are also a lot of great guides to inexpensively create potato towers with chicken wire and straw, but some of these type of containers do best over soil.

Peas
Peas are great for pots!  They require very little root space and grow vines vertically with pretty tight spacing between plants, so you are really able to grow quite a lot of plants in a small space.  Peas just need a trellis to grow upward.  If you have a balcony, you can simply weave string between the railing to give the vines something to hold onto. Just about any pea will grown in a pot, but smaller varieties like little marvel grow a bit more compact while still showing great yield.  Peas are easy to grow from seed and should probably be in the ground right about now (or a few weeks ago!), so get started!

What are your favorite plants to grow in containers?  What did I miss?

Thailand Adventure : That Time I Got in the Cage with Some 500lb Tigers

07 May 2014


Yup, that is me with a tiger tail as a mustache.  Sometimes life is full of unexpectedly amazing moments.  Never in my life did I think I would have this photo or be telling myself that I should probably change because my shirt was too covered in tiger fur, but that is exactly what happened in Thailand.  While in Chiang Mai, I took a trip to Tiger Kingdom and spent a day visiting with tigers.

I want to throw it out there again as I did with my elephant sanctuary post that being responsible about your choices when it comes to wildlife in your travels is really important.  There is a lot of information available, so try to do your homework before you go.  I choose this experience for myself after reading a lot of controversy over whether or not this tigers are drugged, but after talking to some locals, I choose to see it for myself.  I'm not a wildlife expert by any means and I could never know for sure, but I did not feel the tigers were drugged.  I was escorted into the cage with a trainer who never took his eyes off the tiger guided me the whole way and there were only certain ways and places I could approach and touch the tigers.  The tigers I met were pretty actually quite active and the trainer I had even got the small ones to get up and play through the water like a little kittens.


At Tiger Kingdom, the animals are divided into different age groups so you can choose which sizes you'd like to interact with.  I choose the smallest, small, and biggest.  I started with the babies where I was invited in to give one a little morning snack with the bottle and then I got to sit and rub some bellies and do a little snuggling.  The little ones were fun and sweet to be with, but it was the big guys that terrified me a little.


The biggest ones were the chance for an experience of a lifetime, but they were also the ones that really could kill me with a swipe of their paw.  It was intimidating to say the least.  I was guided into a cage full of about 4 or 5 full sized tigers and lead over to meet one.  My guide told me exactly where I could touch him, but I was hesitant at first.  After a little coaching, I got a little more comfortable and did some posing and belly rubbing.  It was beyond surreal to be touching such an impressive predator and they were breathtakingly beautiful to look at.


Have you ever had an amazing animal experience?  Tell me about it! 
If you'd like to see more of my Thailand trip, click here.

Mango Sticky Rice Inspired Tart with Coconut & Cashew Crust!

05 May 2014

Mango Sticky Rice Inspired Tart with Coconut & Cashew Crust

I love, love, love mango & sticky rice.  It is so simple, but it's absolutely my favorite dessert of all time.  Something about sweet, fresh, ripe mango with the chewy rice and sublime sweet coconut sauce...it's just such a magical and perfect combination and I can't get enough of it.  When in Thailand, my goal was pretty much to order it every single time I could and it was glorious.

Once I got home, I had a late night, jet lag fueled stroke of genius - what if I put my perfect dessert into a tart?!  YES!  So I obsessively write myself a note on my phone to remember when I woke up and I spent a few days thinking about the best way to make my dream a reality.

The result was beautiful and amazing.  Maybe one of my favorite things I've ever made.

I decided to go for a basic cookie crust with an addition of coconut and cashew for a little extra crunch.  Crunch is the one thing that I thing could elevate the perfect dessert, so this crust was perfect and the flavors match really well without taking anything away from the beauty of the simple mango and coconut flavor combination.  The filling is like a nice, thick rice pudding and it doesn't require specially steamed sticky rice to get a nice flavor and texture.  It can also very easily be made vegan or not by just using a non-dairy butter in the crust!

This tart looks beautiful and impressive, but it's not very hard to make and the parts can be made ahead of a time and assembled before a big event.


Mango Sticky Rice Inspired Tart with Coconut & Cashew Crust

Crust:
2 1/2 cups graham crackers or vanilla wafer cookies *
1/2 cup toasted coconut
1/2 cup toasted cashews
5 tablespoons butter, cut into cubes *

*for a vegan tart, just use graham crackers and non-dairy butter or coconut oil

Preheat the oven to 350 degrees.  Combine graham crackers, coconut, & cashews in a food processor.  Pulse until ground to a thick powder texture.  Add butter and blend until the mixture comes together and starts to stick to the sides. Use your fingers to pinch the mixture and make sure it is sticking together, if not you need to add a bit more butter.  Lay the mixture out on a tart pan or springform pan and use your fingers press a thin, even layer along the bottom and sides.  Bake the crust for about 15 minutes until browned.   Let cool before filling.

Filling:
1 14oz can coconut cream (not coconut milk, make sure it's cream)
3 cups cooked jasmine rice
2/3 cup sugar
1 tablespoon cornstarch
1 tablespoon water
1 teaspoon salt

Whisk together the coconut cream, rice, and sugar.  Mix the cornstarch and water well to make a slurry and add.  In a large pot, heat over medium high heat for about 10-15 minutes to thicken.  Stir constantly.  Remove from heat and chill in the fridge for about an hour until fully cooled and thickened.

Assemble to tart by spreading the filling over the crust.  Cover with the mango and serve.

Mango Sticky Rice Inspired Tart with Coconut & Cashew Crust

The pretty rose effect is super simple to do, just lay your mango slices in a circular pattern, starting with the outside and working your way inward, layering the previous layer slightly until you get to the center.  Cut a few smaller petal shapes for the center circle and finish by rolling up a slice.  I used two varieties of mango which is why I have this gradient color and I liked that effect, but you don't need to get all fancy - just use whatever variety is available and ripe.

Mango Sticky Rice Inspired Tart with Coconut & Cashew Crust

Whether you are a mango sticky rice fanatic like me, or you just want to give it a try - this is a perfect crowd pleaser with beautiful presentation!

What is your favorite dessert of all time?

Thailand Adventure: Chiang Mai

02 May 2014

After a few days in Bangkok, I headed to north to the city of Chiang Mai.  Chiang Mai is one of the largest cities in northern Thailand, but it dwarfs in comparison to the massive sprawl metropolitan of Bangkok.  It is a really beautiful and vibrant city and I fell in love with it almost instantly.


Chiang Mai reminds me a little of Portland and maybe that is why I was so enamored with it. It's a slower pace, filled with happy & creative people, and surrounded with incredible mountains and natural beauty. I am so glad I choose to spend the largest chunk of my trip in this lovely city. I took many walks around the old town, surrounded by a moat and pieces of a crumbling old city walls and found a lot of beautiful treasures down little alleyways and I also got to go on some grand adventures from the city. I took an amazing cooking class at a local farm, visited tigers, and spent a day hanging out with elephants.


The first night I was there just happened to be Sunday which is the night of the weekly night market through the center of town. Sunday Night Walking Street spans from the old Tha Phae Gate and is over a half mile down full length of Ratchadamnoen Road full of amazing vendors of all kinds - soap carvers, musicians, painters, and everything in between.  It was a great place to pick up some unique inexpensive souvenirs to bring home. There is an incredible amount of street food and I everything I ate was absolutely incredible. The street is overwhelmed with colors and people and it reminded be a lot of Last Thursday in Portland.  The one edge the Sunday Walking Street had?  There were most amazing $3 foot massages available all over the street.  Nothing soothes achy feet that are tired from a day of walking like a quick pamper break.


Gender has always been a topic that fascinates me & kathoey (aka ladyboy) culture is something I've read about and wanted to check out while I was in Thailand. I found out that there is a free cabaret show every night in the Anusarn night market that I was excited to check out.  It was an incredibly fun show that the performers had obviously put a lot of time into with the amazing costumes and impressive choreography!  I also made some new friends at the show and had a lovely time checking out the nightlife in Chiang Mai!


The next day, I ventured out to see Wat Phra That Doi Suthep - a gorgeous treasure high above the city of Chaing Mai in the mountains.  I took songthrew up long, winding mountain roads with beautiful views the whole way there. Simply tell your driver you want to go to the temple and he will likely take you to a "bus station" where you can meet up with another songthrew that makes the daily route up to the temple for about 50 baht (less than $2). It's about a 20 minute drive, but it is well worth the effort. To reach the temple, you can choose to walk up 309 steps for free or pay a dollar to take a tram.  The highlight of Wat Phra for me was the gorgeous views there and along the trip.


I also just got to spent some time wandering the city and looking beautiful ruins.  I was just so taken with the culture and vibrancy of this small town.


Overall, Chiang Mai was amazing I hope that I'll get to see it again someday!
 
Blogging tips